<script>
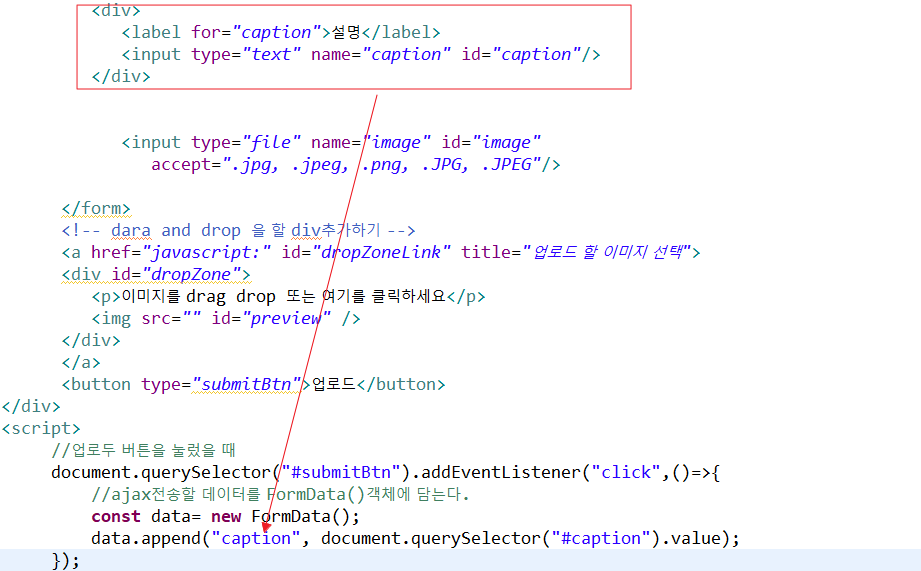
//업로두 버튼을 눌렀을 때
document.querySelector("#submitBtn").addEventListener("click",()=>{
//ajax전송할 데이터를 FormData()객체에 담는다.
const data= new FormData();
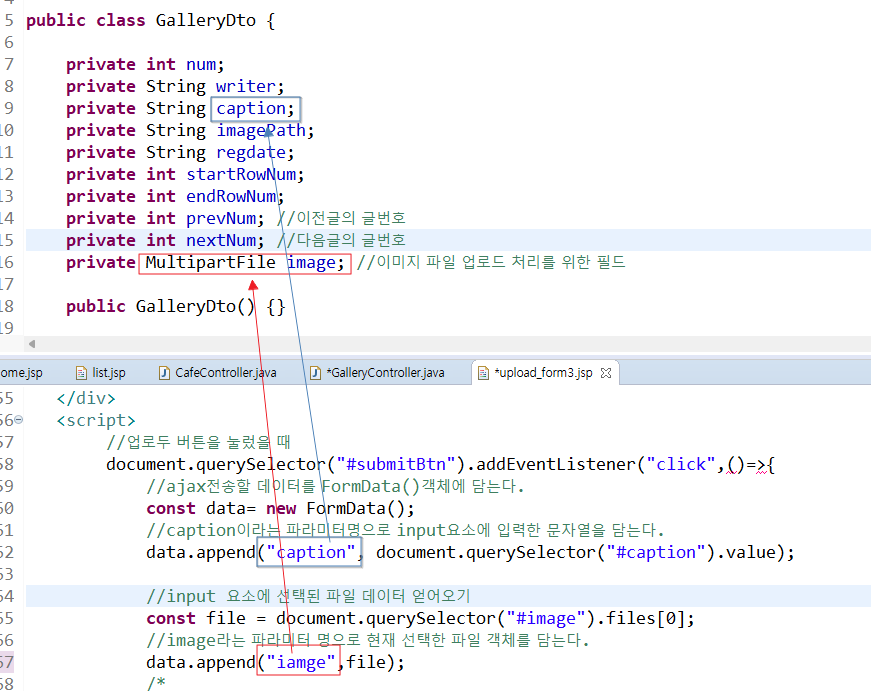
//caption이라는 파라미터명으로 input요소에 입력한 문자열을 담는다.
data.append("caption", document.querySelector("#caption").value);
//input 요소에 선택된 파일 데이터 얻어오기
const file = document.querySelector("#image").files[0];
//image라는 파라미터 명으로 현재 선택한 파일 객체를 담는다.
data.append("iamge",)
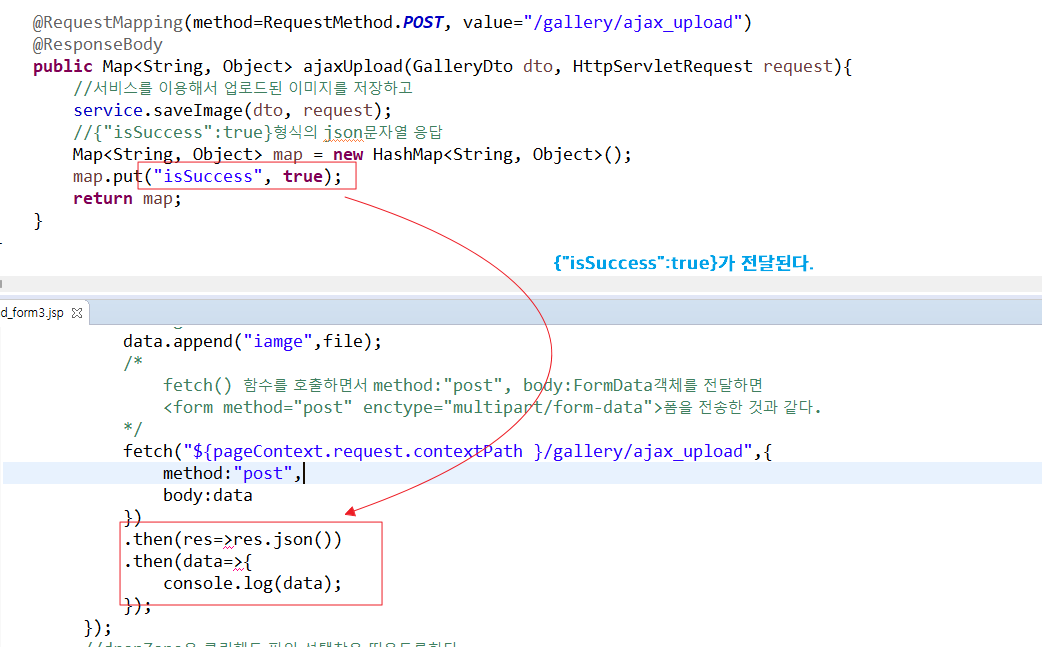
/*
fetch() 함수를 호출하면서 method:"post", body:FormData객체를 전달하면
<form method="post" enctype="multipart/form-data">폼을 전송한 것과 같다.
*/
fetch("${pageContext.request.contextPath }/gallery/ajax_upload",{
method:"post",
body:data
})
});
</script>"caption"과 "image"인 이유는 GalleryDto의 필드명을 따라가야 하기 때문이다.
GalleryController에서
@RequestMapping(method=RequestMethod.POST, value="/gallery/ajax_upload")
	@ResponseBody
	public Map<String, Object> ajaxUpload(GalleryDto dto, HttpServletRequest request){
		//서비스를 이용해서 업로드된 이미지를 저장하고
		service.saveImage(dto, request);
		//{"isSuccess":true}형식의 json문자열 응답
		Map<String, Object> map = new HashMap<String, Object>();
		map.put("isSuccess", true);
		return map;
	}
'수업내용' 카테고리의 다른 글
| 20230707 CSS3 (0) | 2023.07.07 |
|---|---|
| 20230706 vue2->jQuery로 바꿔보기 (0) | 2023.07.06 |
| 20230705 jQuery (0) | 2023.07.05 |
| 20230704 jQuery (0) | 2023.07.04 |
| 20230703 이미지갤러리 만들기 (0) | 2023.07.03 |


댓글