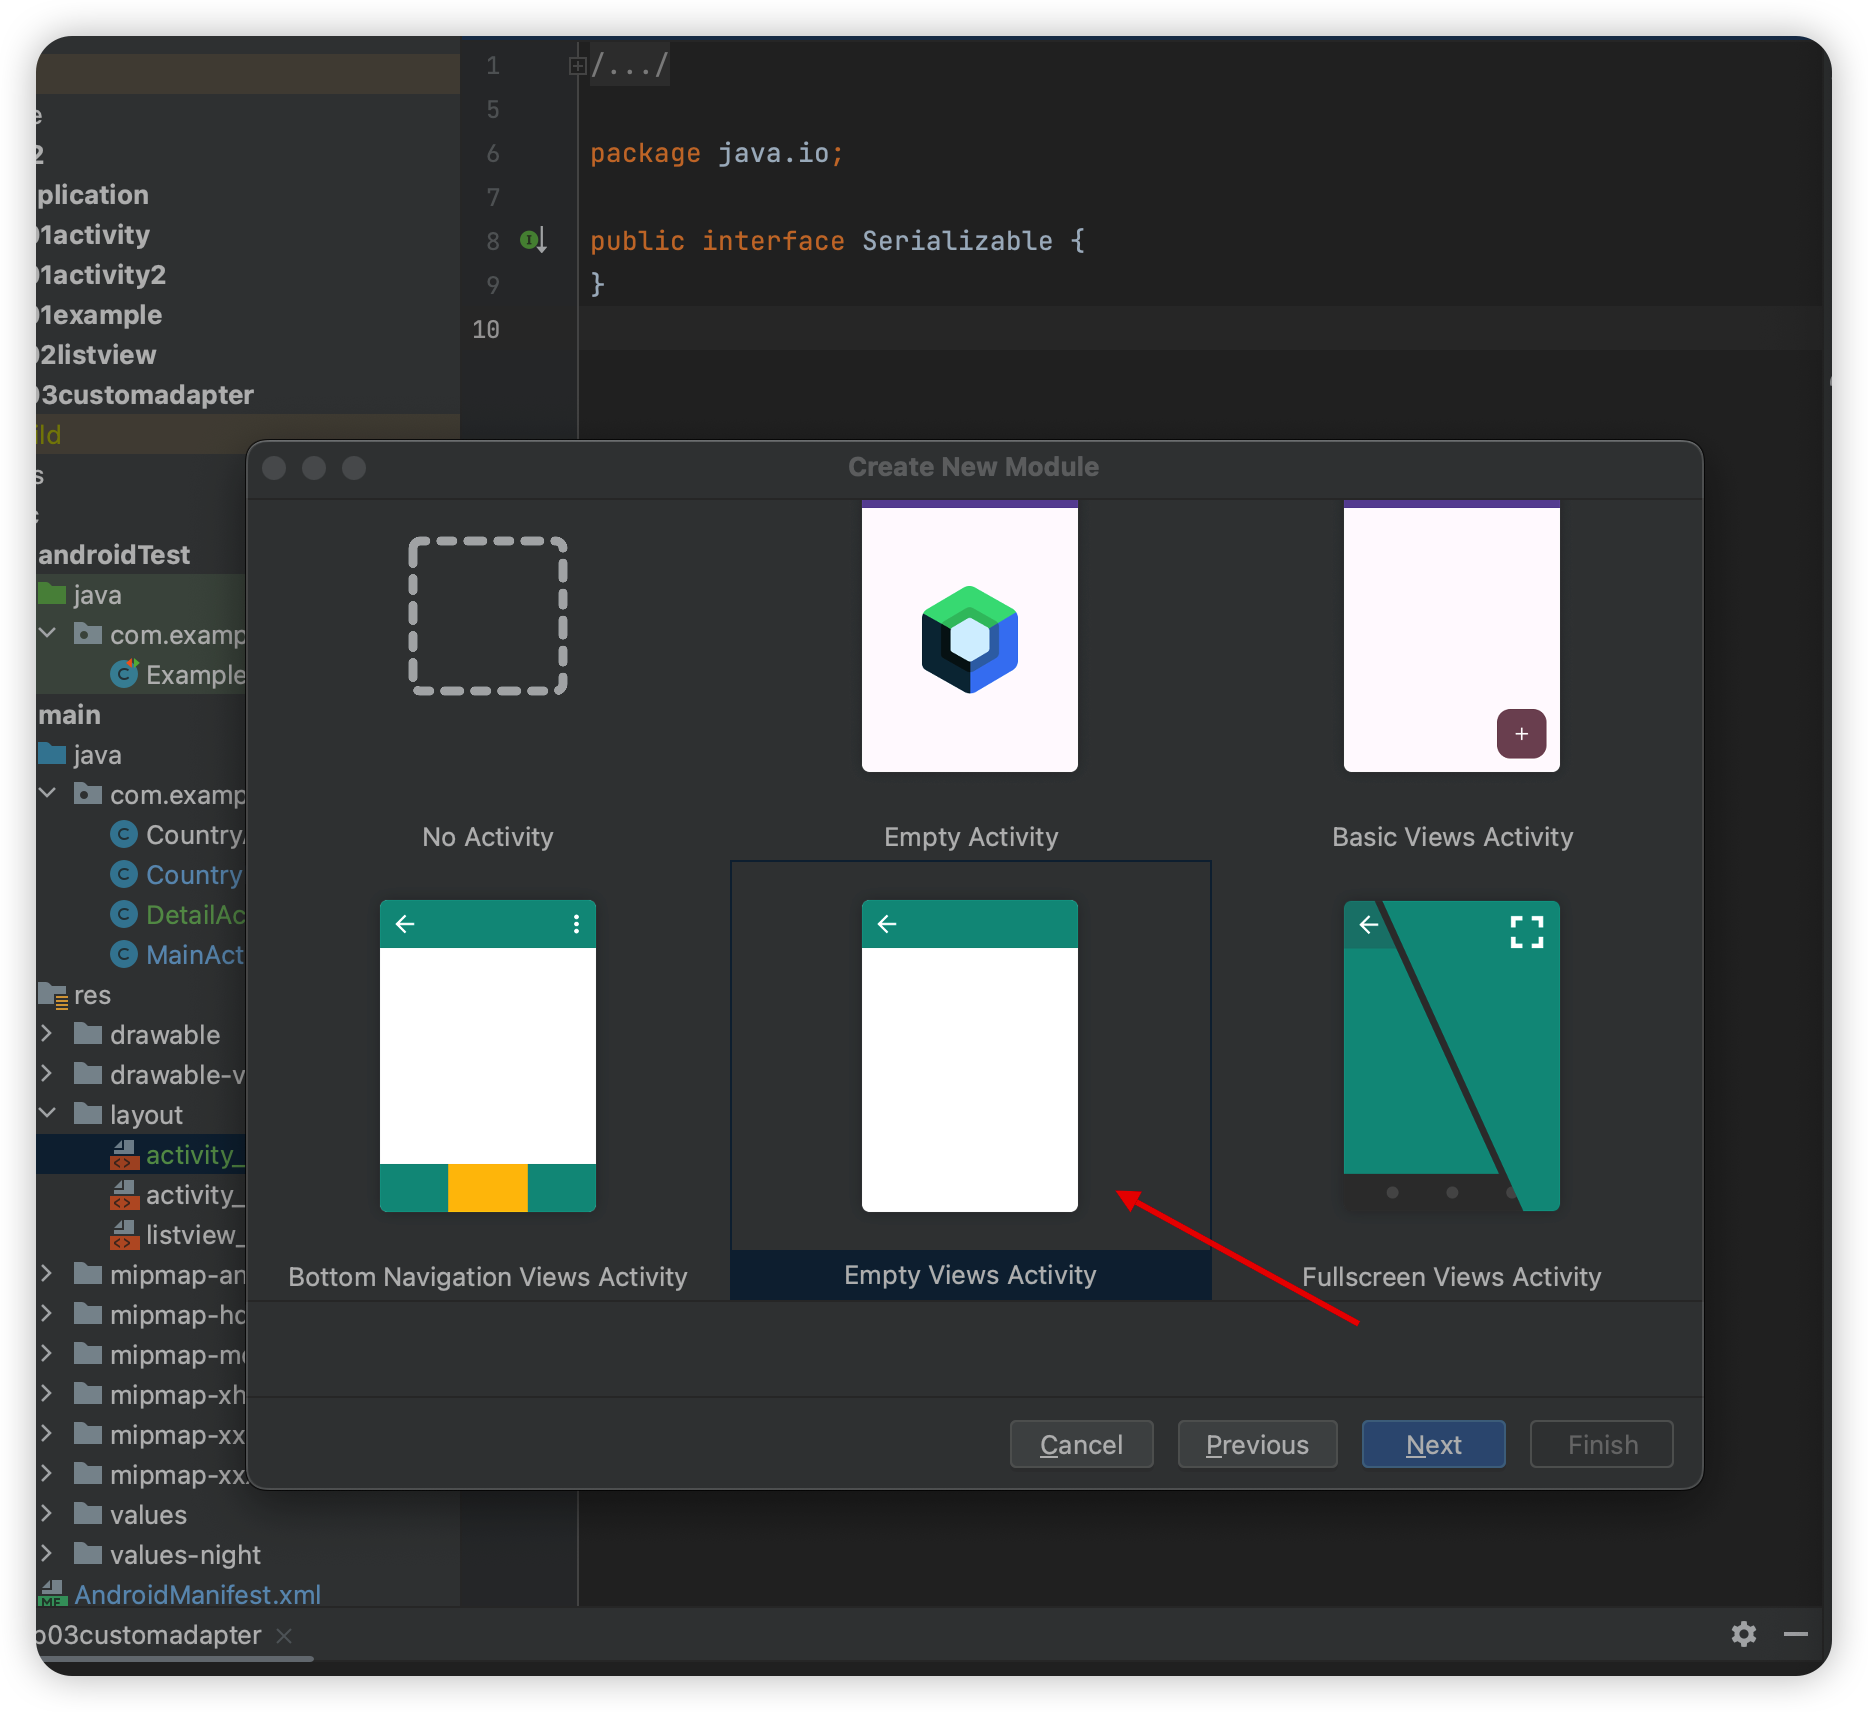
새로운 모듈을 만들어주었다.
모듈이름은 AndroidHttpRequest
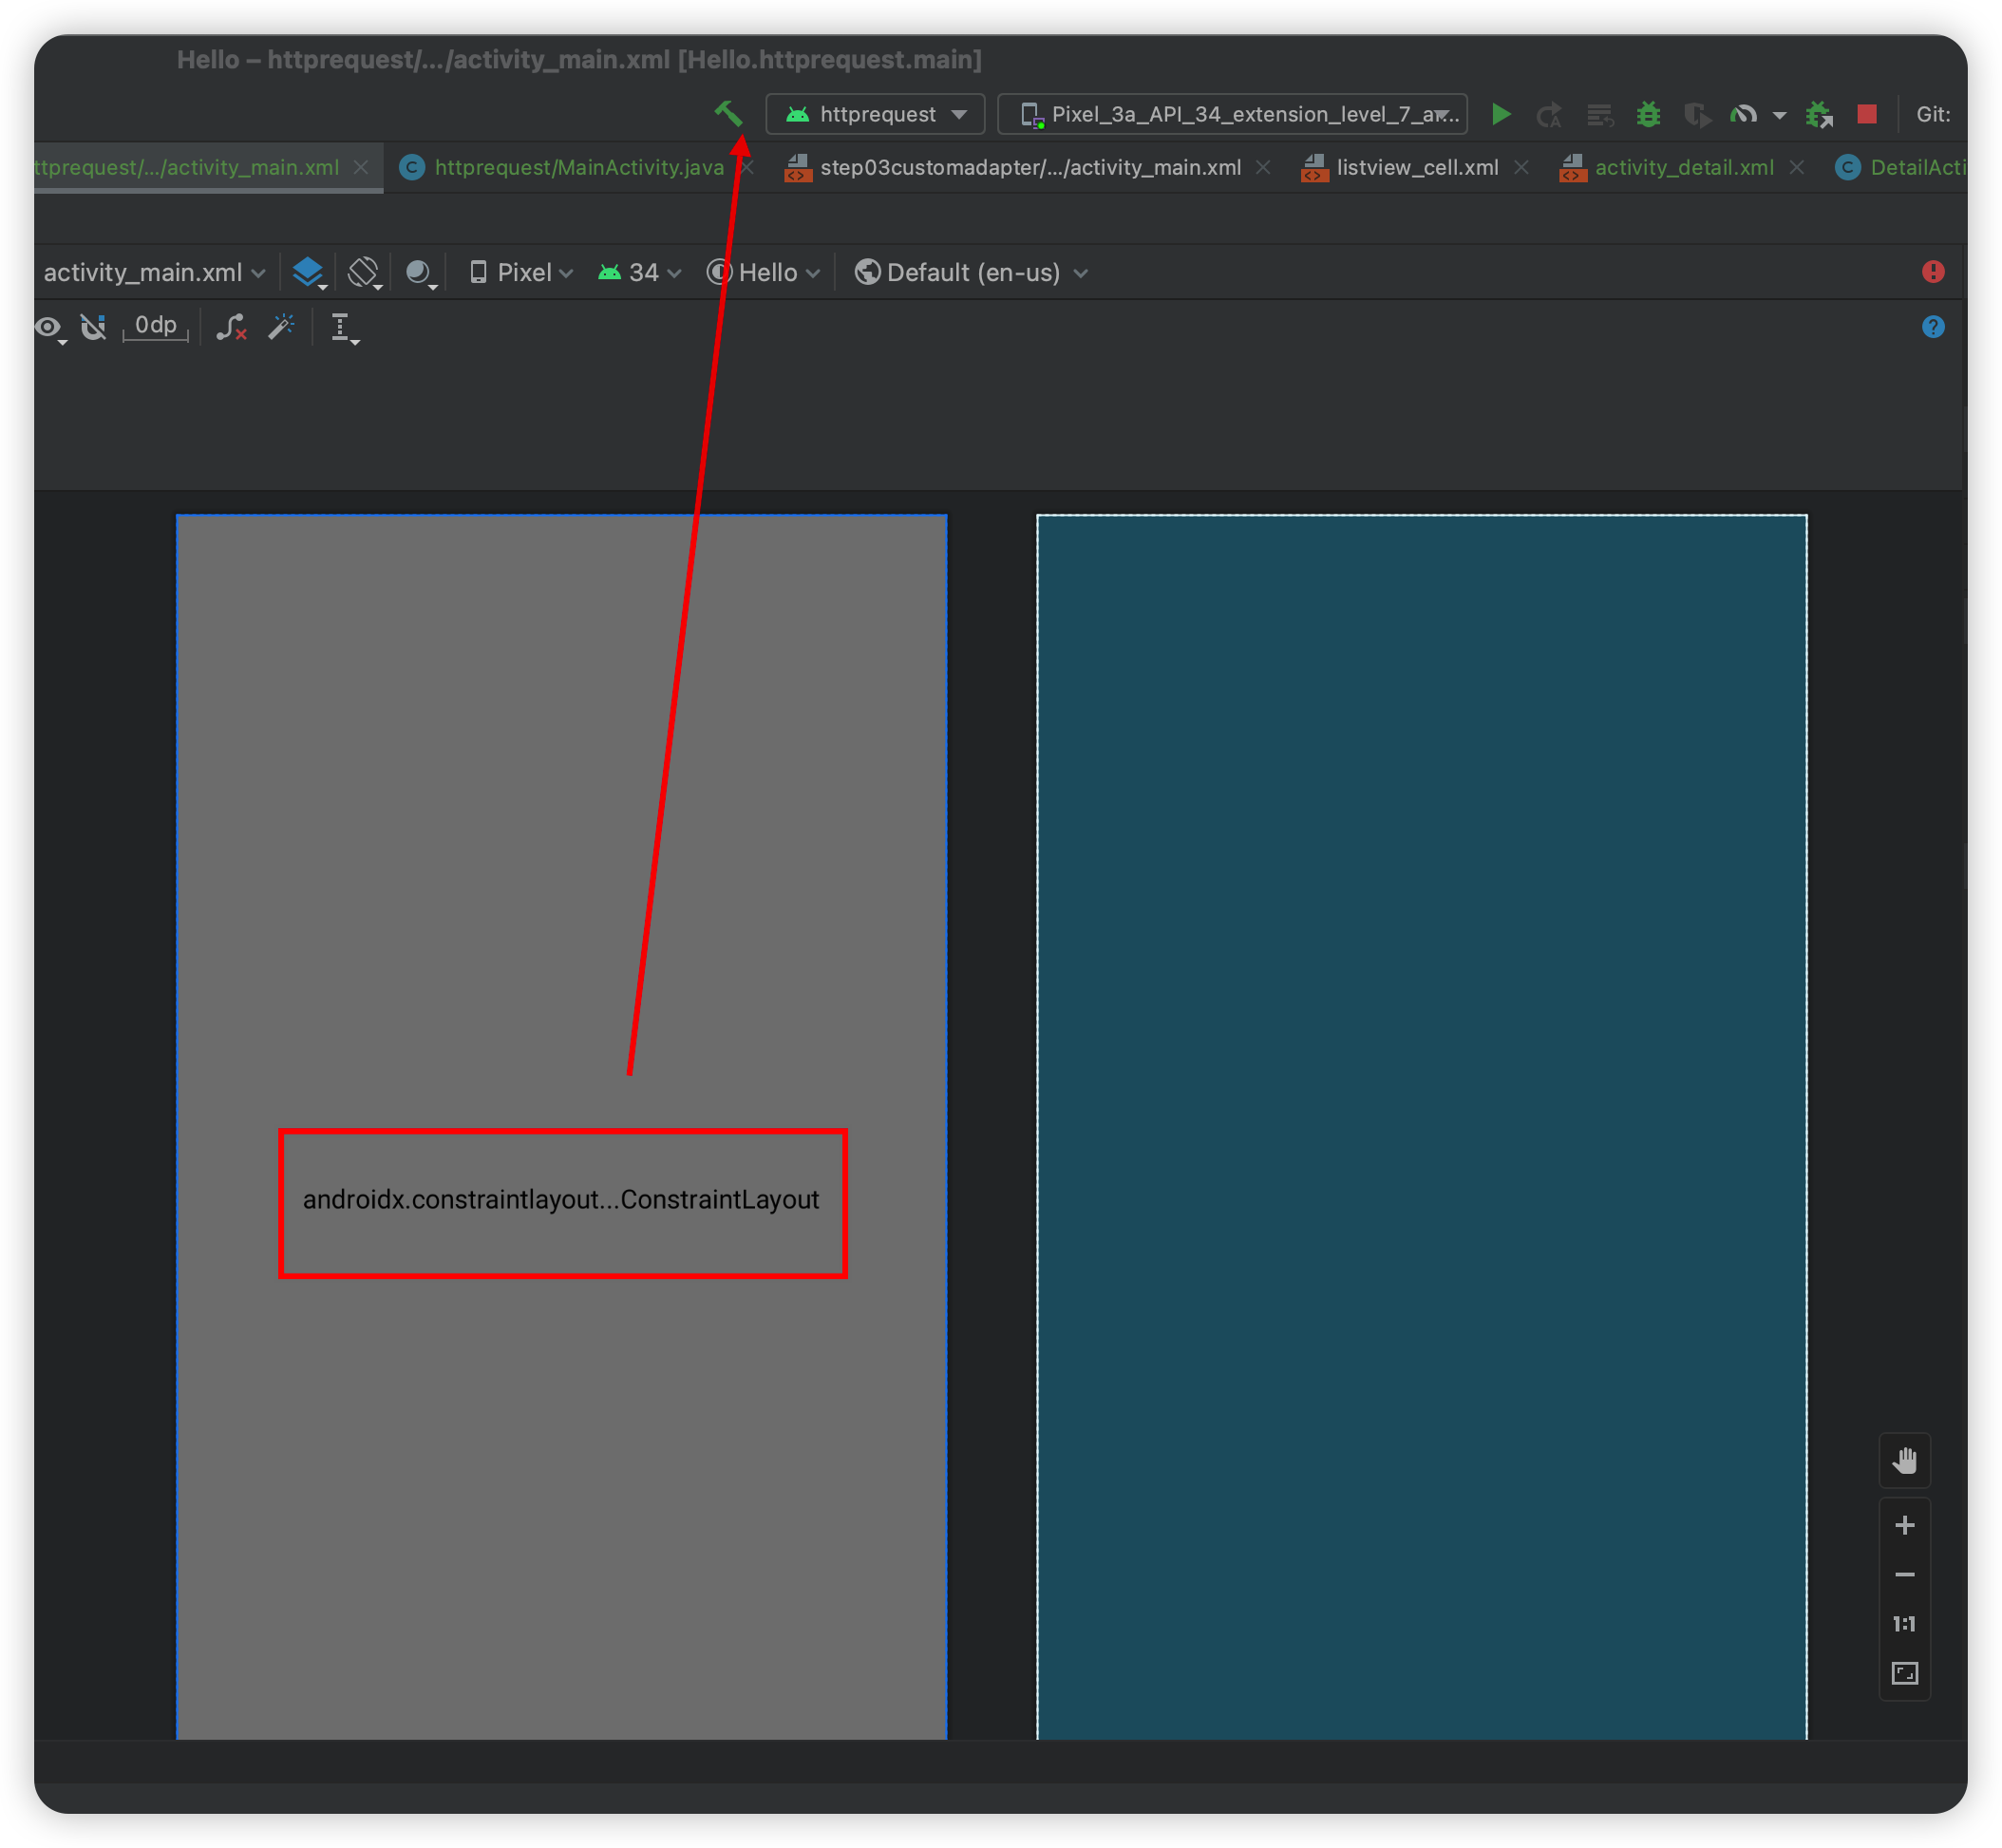
layout이 잘 나오는지 check해주고..잘안나오면 망치모양의 makeproject를 한번눌러주면 된다.
하고 Layout요소들을 아래와 같이 추가해 주었다.
<?xml version="1.0" encoding="utf-8"?>
<LinearLayout xmlns:android="http://schemas.android.com/apk/res/android"
    xmlns:app="http://schemas.android.com/apk/res-auto"
    xmlns:tools="http://schemas.android.com/tools"
    android:layout_width="match_parent"
    android:layout_height="match_parent"
    tools:context=".MainActivity"
    android:orientation="vertical">
    <EditText
        android:layout_width="match_parent"
        android:layout_height="0dp"
        android:layout_weight="1"
        android:id="@+id/editText"
        android:focusable="false"
        android:background="#00ff00"/>
    <LinearLayout
        android:layout_width="match_parent"
        android:layout_height="wrap_content"
        android:orientation="horizontal">
        <EditText
            android:layout_width="0dp"
            android:layout_weight="1"
            android:layout_height="wrap_content"
            android:id="@+id/inputUrl"/>
        <Button
            android:layout_width="wrap_content"
            android:layout_height="wrap_content"
            android:text="요청"
            android:id="@+id/requestBtn"/>
    </LinearLayout>

</LinearLayout>
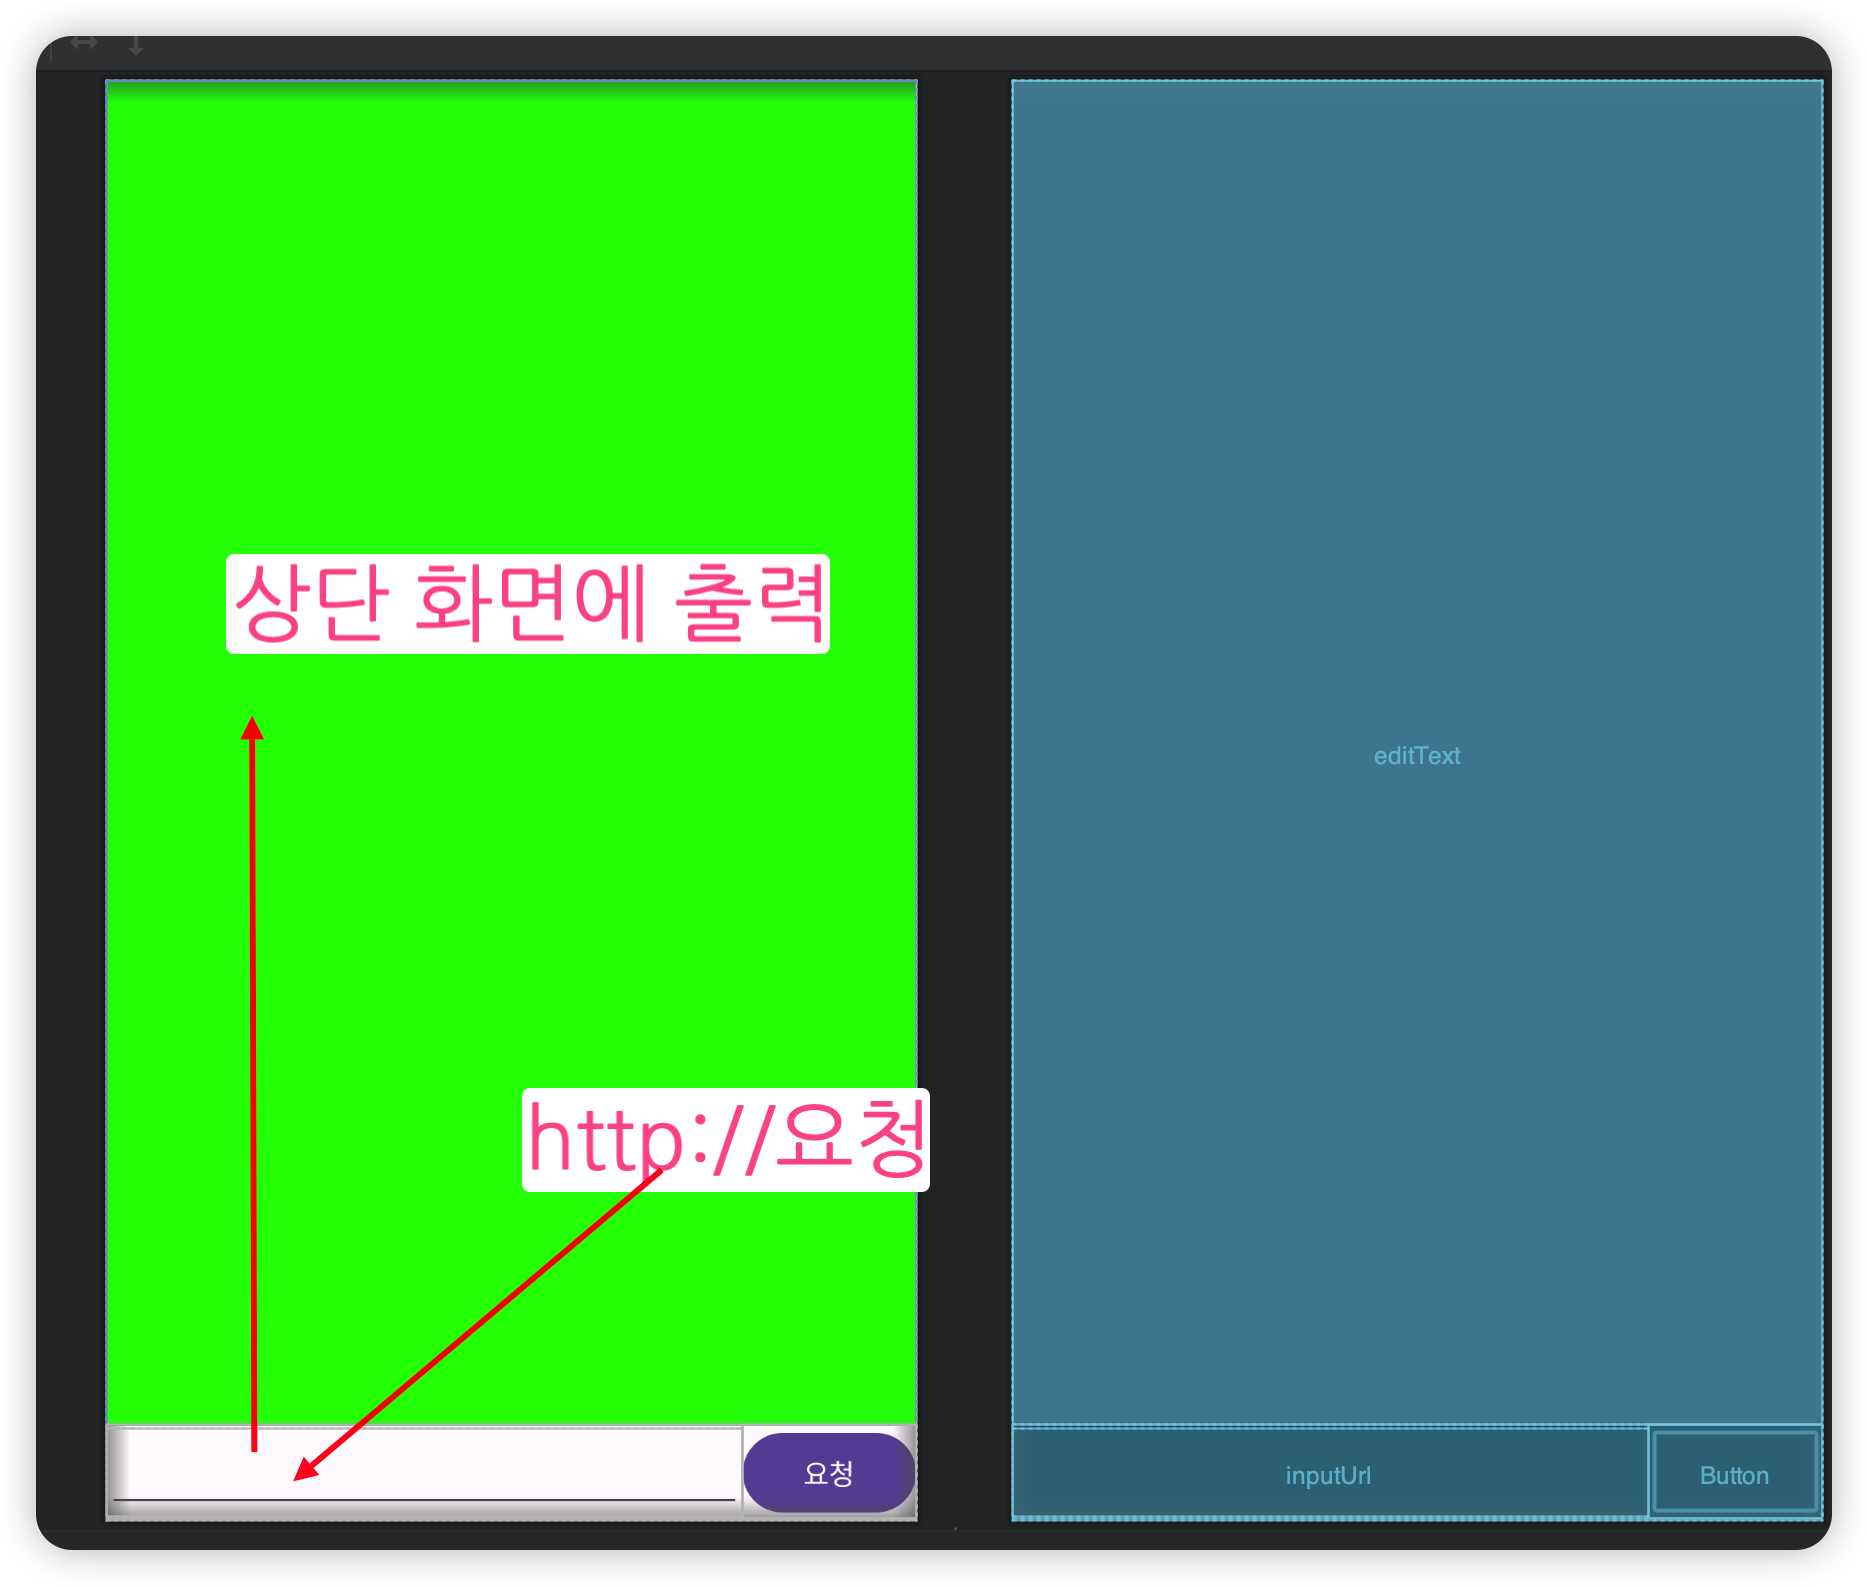
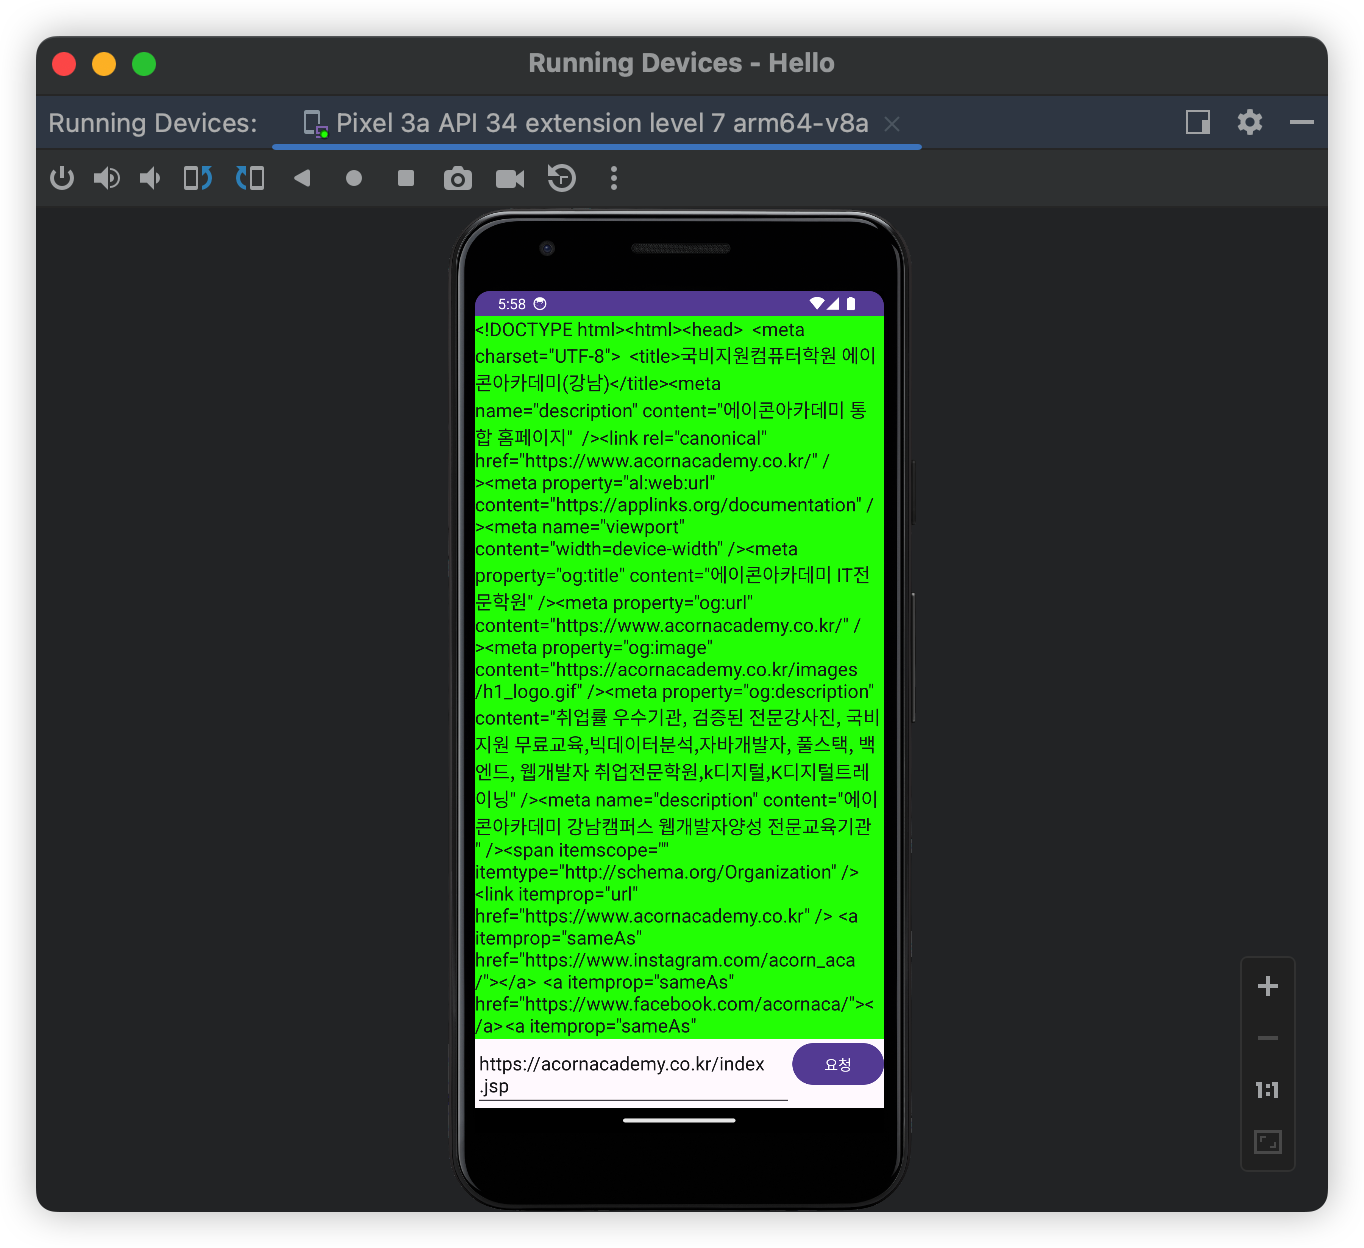
위에 디자인에서 무엇을 해보려고 하면 http://아무주소나 읽어와서 위에 화면에 출력하도록 하는 실습을 해보겠다.
즉
요청 버튼을 클릭했을 때 동작할 준비를 버튼에 해주고
입력한 url 주소를 읽어와서
http요청을 하고
정상적으로 응답이 되면 응답된 문자열을 EditText에 출력하기를 할 것이다.
안드로이드에서의 thread는 main thread를 하나를 사용하고 있다.
package com.example.httprequest;

import android.os.Bundle;
import android.widget.Button;
import android.widget.EditText;

import androidx.appcompat.app.AppCompatActivity;

public class MainActivity extends AppCompatActivity {

    EditText editText;

    @Override
    protected void onCreate(Bundle savedInstanceState) {
        super.onCreate(savedInstanceState);
        setContentView(R.layout.activity_main);

        editText=findViewById(R.id.editText);
        EditText inputUrl=findViewById(R.id.inputUrl);
        //요청 버튼을 클릭했을 때 동작할 준비
        Button requestBtn = findViewById(R.id.requestBtn);
        requestBtn.setOnClickListener(view->{
          //1.입력한 url 주소를 읽어와서

          //2. http요청을 하고

          //3. 정상적으로 응답이 되면 응답된 문자열을 EditText에 출력하기
        });
    }
}
UI는 main thread에서만 사용하기 때문에 thread에 딜레이가 생기게되면 안된다. 딜레이가 발생하게 되면 안드로이드가 앱을 강제로 중지시켜버린다. 이럴 경우에는 sub thread를 만들어서 진행하게 되면 된다(2번 주석 부분).
비동기 Task객체를 생성할 클래스를 먼저 만들어준다 이때 AsyncTask를 상속받아 메서드를 @Override해준다.
 //비동기 Task객체를 생성할 클래스
    class RequestTask extends AsyncTask<String, Void, String>{

        //BackGround(새로운 thread의 run()메서드)에서 작업할 내용을 이 메서드에서 작업하면 된다.
        @Override
        protected String doInBackground(String... strings) {
            return null;
        }
    }
시간이 오래걸리는 작업을 해주면된다.
String뒤에 ...[배열]인 이유는
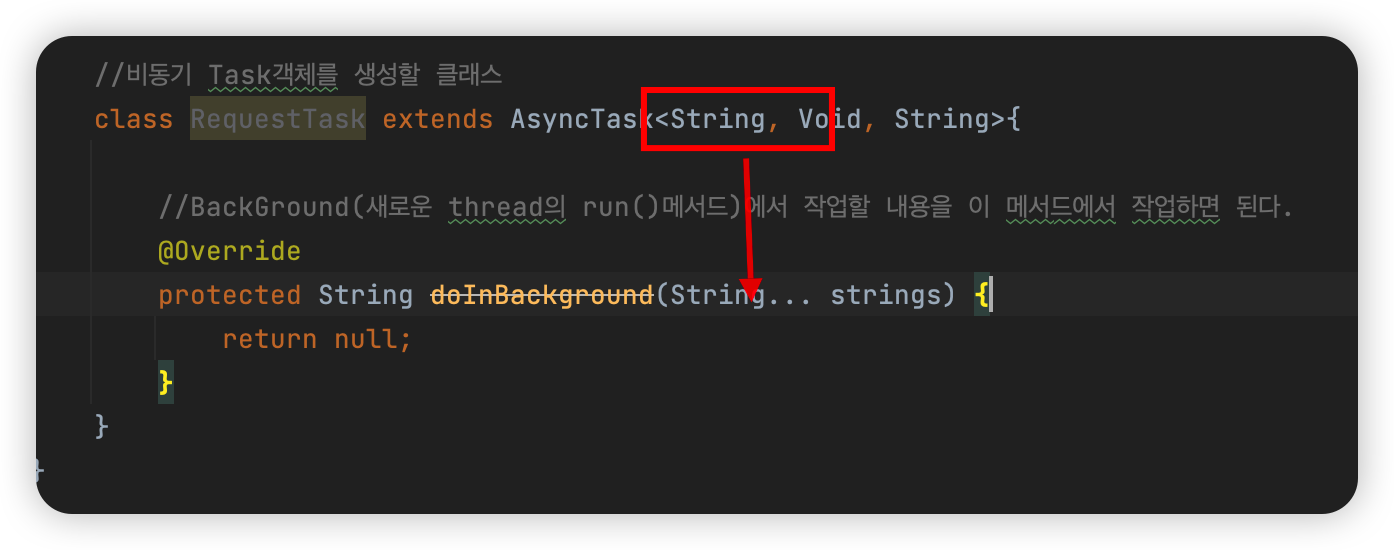
를 따라가기 위함이다.
url주소를 여러개 담을 수 있게 해 줄수 있다.
먼저 입력한 주소url을 읽어와서 http요청을 넣어주는 작업은 아래와같다 이때까지는 main thread는 작동하지 않는다.
@Override
    protected void onCreate(Bundle savedInstanceState) {
        super.onCreate(savedInstanceState);
        setContentView(R.layout.activity_main);

        editText=findViewById(R.id.editText);
        EditText inputUrl=findViewById(R.id.inputUrl);
        //요청 버튼을 클릭했을 때 동작할 준비
        Button requestBtn = findViewById(R.id.requestBtn);
        requestBtn.setOnClickListener(view->{
          //1.입력한 url 주소를 읽어와서
            String url = inputUrl.getText().toString();
          //2. http요청을 하고
            new RequestTask().execute(url);
          //3. 정상적으로 응답이 되면 응답된 문자열을 EditText에 출력하기
        });
    }
이 때 위의 작업은 서브 thread(background thread)인 곳으로 작업을 나누어서 해준다.
background thread에서 return 받은 값을 onPostExecute()메서드로 전달해주어 결과를 출력해준다.
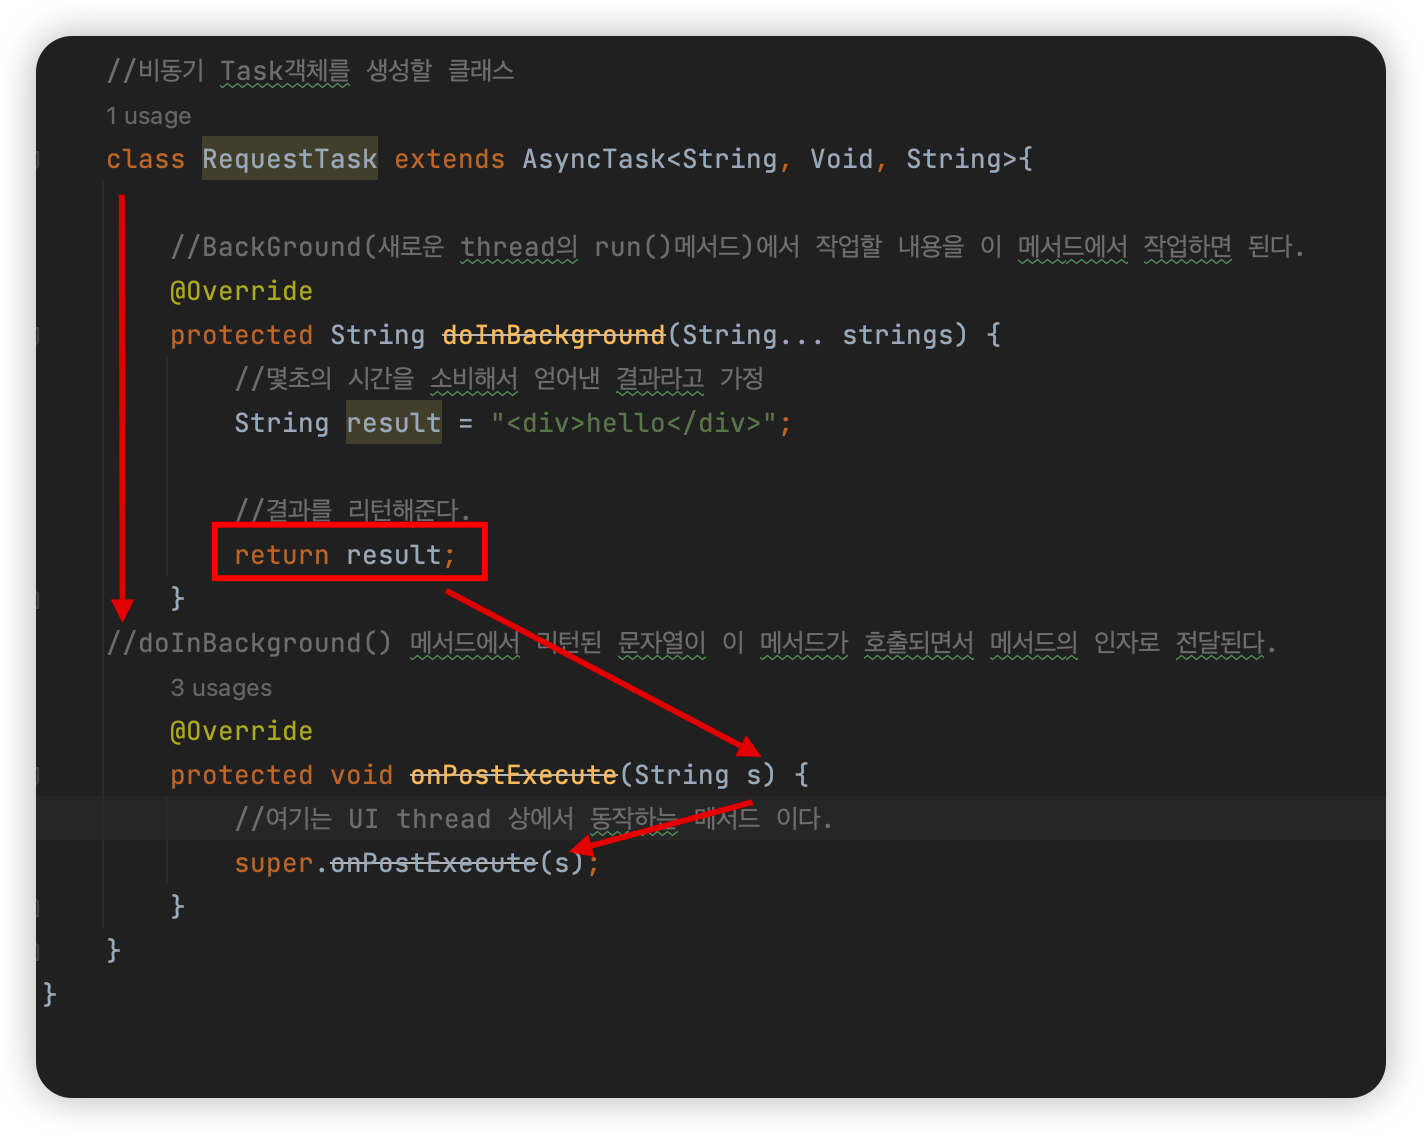
    //비동기 Task객체를 생성할 클래스
    class RequestTask extends AsyncTask<String, Void, String>{

        //BackGround(새로운 thread의 run()메서드)에서 작업할 내용을 이 메서드에서 작업하면 된다.
        @Override
        protected String doInBackground(String... strings) {
            //몇초의 시간을 소비해서 얻어낸 결과라고 가정
            String result = "<div>hello</div>";

            //결과를 리턴해준다.
            return result;
        }
    //doInBackground() 메서드에서 리턴된 문자열이 이 메서드가 호출되면서 메서드의 인자로 전달된다.
        @Override
        protected void onPostExecute(String s) {
            //여기는 UI thread 상에서 동작하는 메서드 이다.
            super.onPostExecute(s);
        }
    }
위의 예제는 어떻게 코드가 돌아가는지만 설명한 예제이며 background thread에서 작동은 아래와 같다.
 //비동기 Task객체를 생성할 클래스
    class RequestTask extends AsyncTask<String, Void, String>{

        //BackGround(새로운 thread의 run()메서드)에서 작업할 내용을 이 메서드에서 작업하면 된다.
        @Override
        protected String doInBackground(String... strings) {
            //문자열을 누적시킬 객체
            StringBuilder builder=new StringBuilder();

            //strings 의 0 번방에 요청 url 이 들어 있다.
            try {
                //요청 url 을 생성자의 인자로 전달해서 URL 객체를 생성한다.
                URL url = new URL(strings[0]);
                //URLConnection 객체를 원래 type (자식 type) 으로 casting 해서 받는다.
                HttpURLConnection conn=(HttpURLConnection) url.openConnection();
                //정상적으로 연결이 되었다면
                if(conn != null){
                    conn.setConnectTimeout(20000); //응답을 기다리는 최대 대기 시간
                    conn.setRequestMethod("GET");// 요청 메소드 설정 (Default 는 GET)
                    conn.setUseCaches(false);//케쉬 사용 여부
                    //응답 코드를 읽어온다.
                    int responseCode=conn.getResponseCode();
                    if(responseCode == HttpURLConnection.HTTP_OK){ //정상 응답이라면
                        //문자열을 읽어들일수 있는 객체의 참조값 얻어오기
                        BufferedReader br=new BufferedReader(new InputStreamReader(conn.getInputStream()));
                        //반복문 돌면서
                        while(true){
                            //문자열을 한줄씩 읽어 들인다.
                            String line=br.readLine();
                            if(line==null)break;
                            //StringBuilder 객체에 읽어들인 문자열을 누적 시킨다.
                            builder.append(line);
                        }
                    }
                }
            }catch (Exception e){
                Log.e("RequestTask 클래스", e.getMessage());
            }
            //StringBuilder 객체에 누적된 문자열을 String type 으로 한번에 얻어내서 리턴해 준다.
            return builder.toString();
        }
비용이 발생 할 가능성이 있거나 사용자 디바이스의 개인 정보를 사용하거나 위치정보를 사용하거나 배터리를 많이 소모하는 작업은 앱을 설치하기 전에 알려야 한다.
이런 정보는 AndroidManifest.xml에 반드시 기재해 놔야한다.

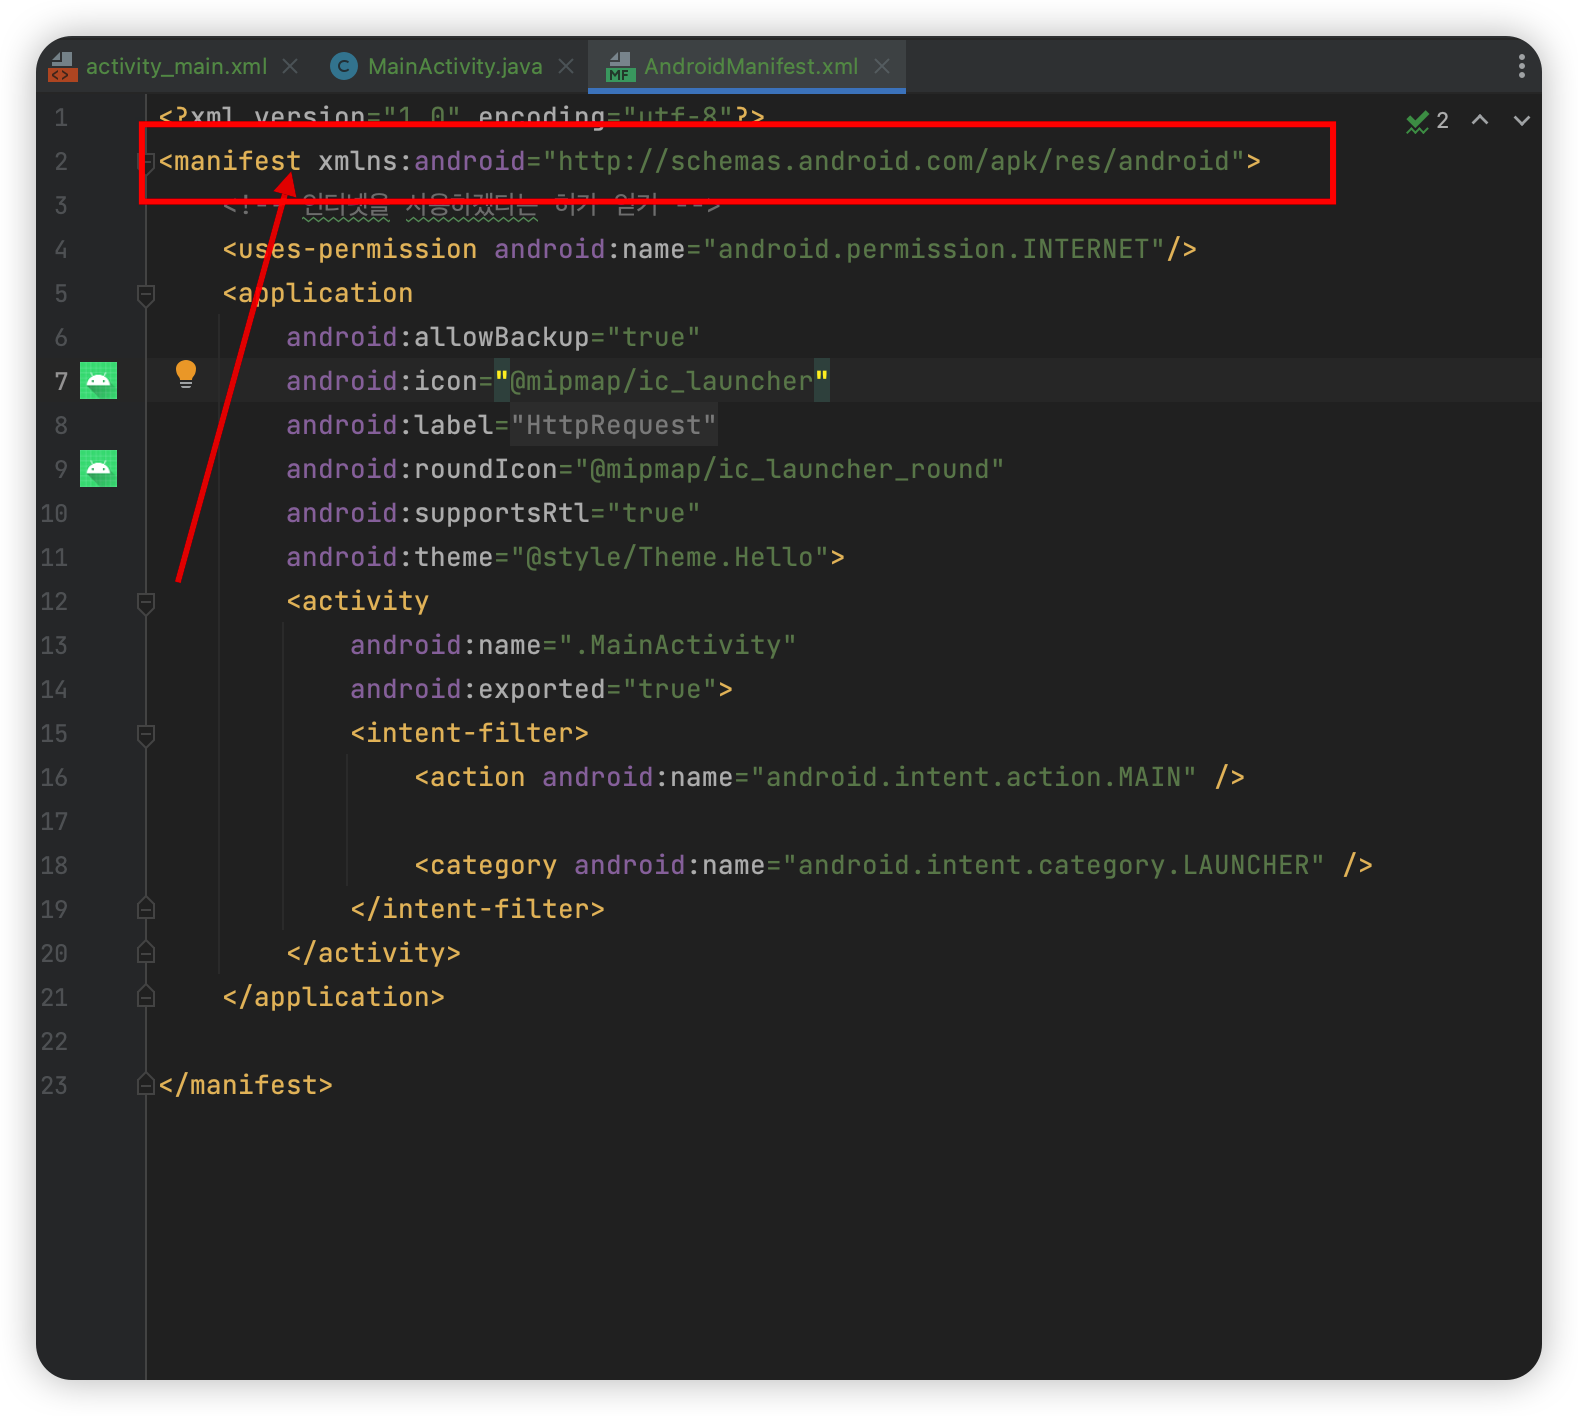
<?xml version="1.0" encoding="utf-8"?>
<manifest xmlns:android="http://schemas.android.com/apk/res/android">
    <!-- 인터넷을 사용하겠다는 허가 얻기 -->
    <uses-permission android:name="android.permission.INTERNET"/>
    <application
        android:allowBackup="true"
        android:icon="@mipmap/ic_launcher"
        android:label="@string/app_name"
        android:roundIcon="@mipmap/ic_launcher_round"
        android:supportsRtl="true"
        android:theme="@style/Theme.Hello">
        <activity
            android:name=".MainActivity"
            android:exported="true">
            <intent-filter>
                <action android:name="android.intent.action.MAIN" />

                <category android:name="android.intent.category.LAUNCHER" />
            </intent-filter>
        </activity>
    </application>

</manifest>
이제 실행을 하려고 했는데 안된다..
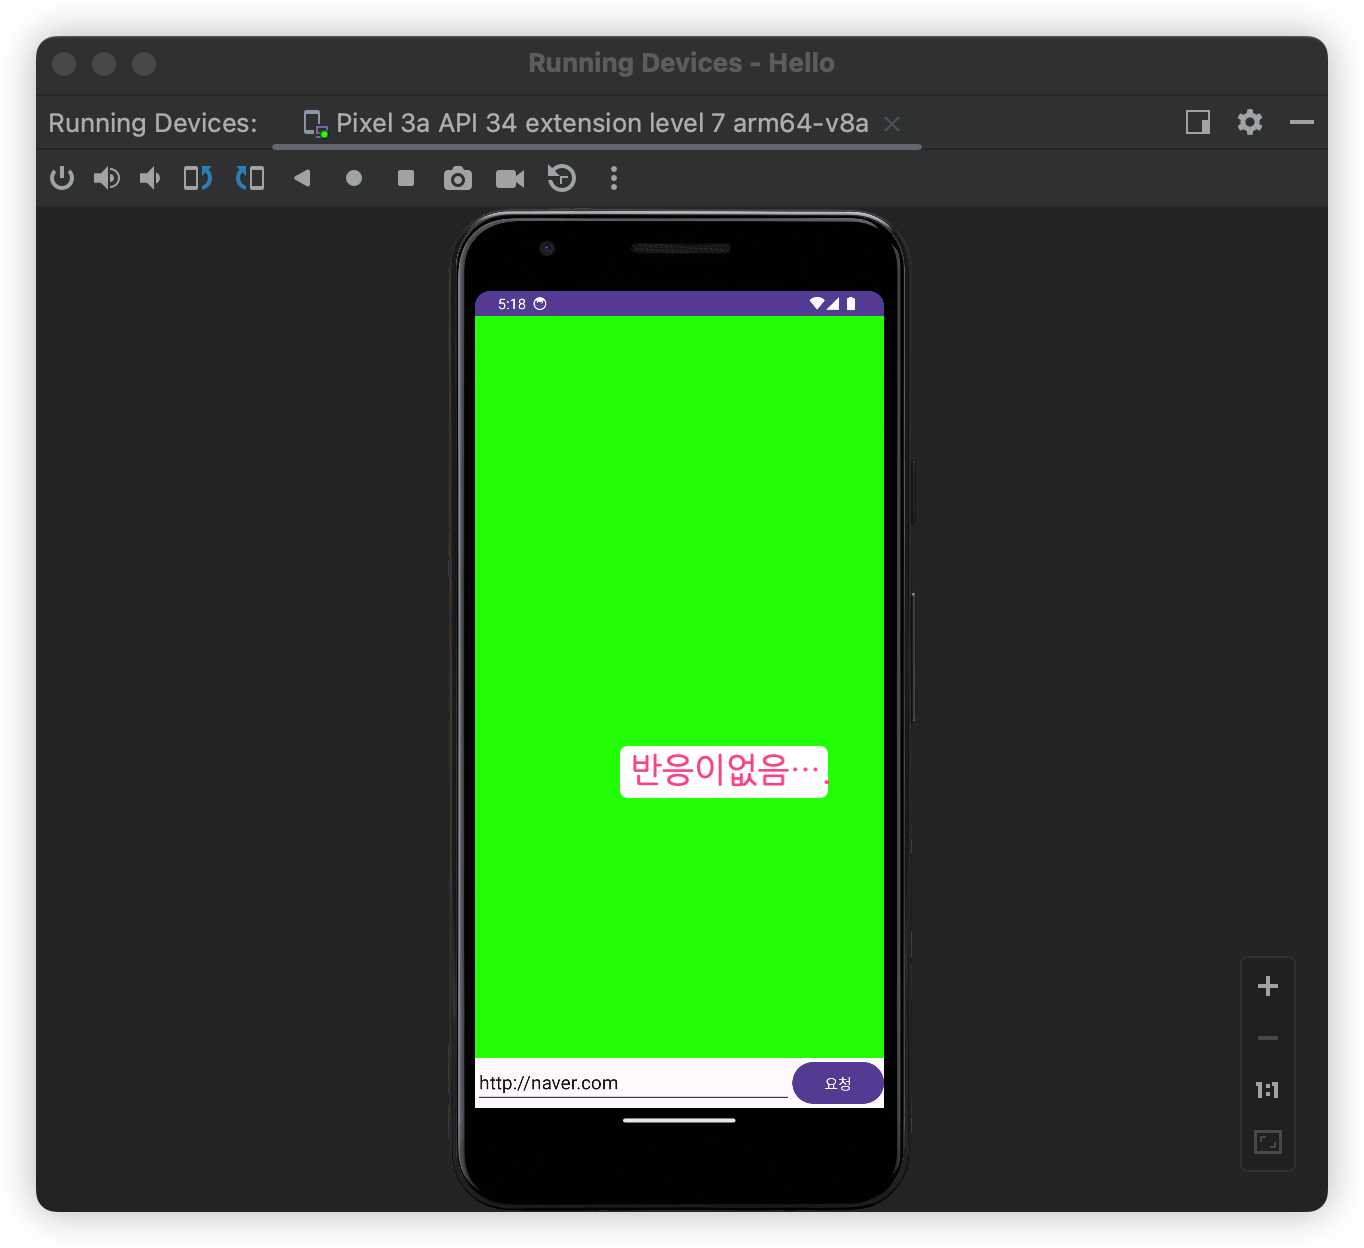
미해결..
'수업내용' 카테고리의 다른 글
| 20230725 Android (0) | 2023.07.25 |
|---|---|
| 20230724 Android HttpRequest2 (0) | 2023.07.24 |
| 20230721 Android CustomAdapter 2 (0) | 2023.07.21 |
| 20230721 CSS3 Flex (0) | 2023.07.21 |
| 20230720 Android CustomAdapter (0) | 2023.07.20 |


댓글